Just a couple days ago, Nikon Professional Services sent me a Nikon D4 and 400mm f/2.8G
to play around with. I had originally asked for a 300mm which turned out to be unavailable which is how I ended up with this ridiculously large lens.
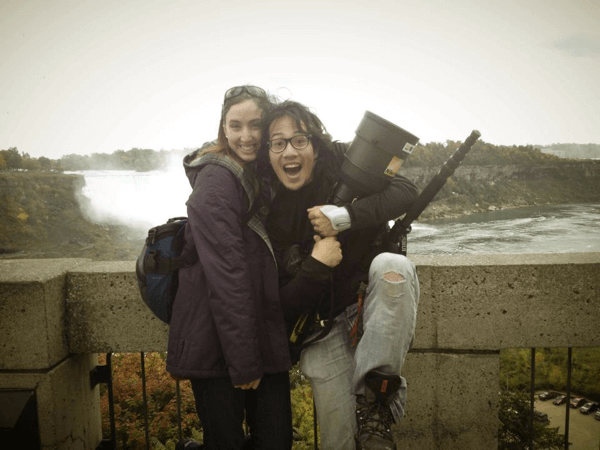
Deidre, Myself and Georgette the 400mm visiting niagara falls.
So what does one normally do with a 400mm f2.8? Sports… wildlife… that’s about it. It’s rare that the 400mm is used for portraits since it tends to flatten people’s faces and buddies inadvertently fattening them due to lens compression.
One of the things I had wanted to try out for a while but never quite got around to doing was to try out the Brenizer Method. The Brenizer Method consists of stitching together a bunch of shots taken from a telephoto at wide aperture to get an extremely shallow depth of field at a wider angle. Theoretically, all I would have to do is Focus, set lens & camera settings to Manual, swing my lens in a variety of directions capturing as wide a shot as possible and later sit in front of the computer to stitch them together. This website explains it well if you want to try it out:
–
Quite excited to put my large lens to use, I sporadically texted a musician over here in Toronto who was looking for some brand new portfolio images: Andrew Kesler. Unfortunately for me, he was only available late that evening so my intern Deidre and I stayed at the office to work until midnight waiting for him to arrive. Since the purpose of the Brenizer effect is to get a whole bunch of pretty bokeh in a wide shot, the best place to achieve that seemed to be the rooftop of our company building.
Unfortunately for us though, we had not quite done a proper job of scouting so when we arrived on the rooftop, we realized that we were going to have a lighting problem. Deidre spontaneously proposed using iPhone’s to light Andrew and I thought, why not? The Nikon D4 is capable of shooting at 12,800 ISO and at f2.8 I could easily grab shutter speeds at approx 160th of a second! That combined with the fact I was using a monopod and the lens’s VR system would be more than enough! Joel Kesler, Andrew’s brother was on hand to help us with lighting and played his role of Voice Activated i-Stand quite perfectly!
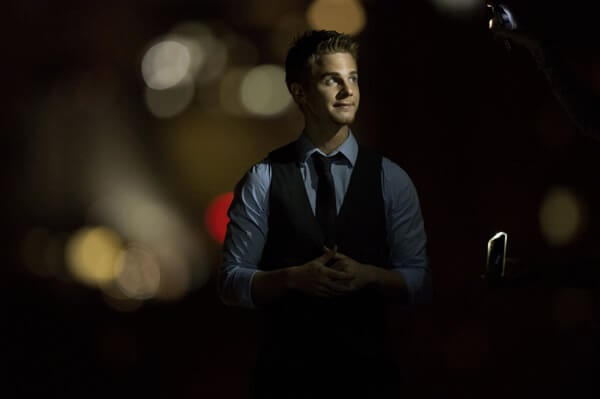
For the first shot we did, we placed Andrew seated at the very edge of the roof. I went a good 20 feet back to capture our hero. It took a little bit of juggling to get the lighting just right but by placing one iPhone closer and the other farther, we were able to get a relatively awesome studio-esque type lighting!
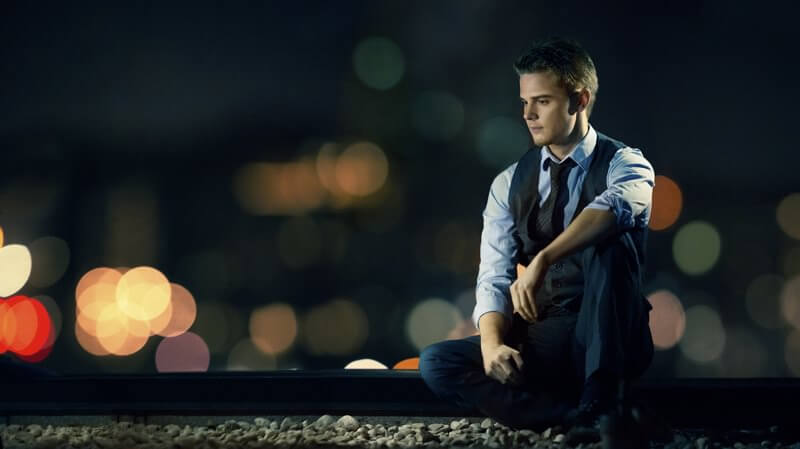
For the second shot, we had Joel hold an iPhone and stand behind Andrew to give him a nice fancy back light. In the front, Deidre held two iPhones to light both face and body. By placing Joel a little bit farther back and having Andrew move forward, thanks to the light fall-off Joel could become effectively invisible! The final result?
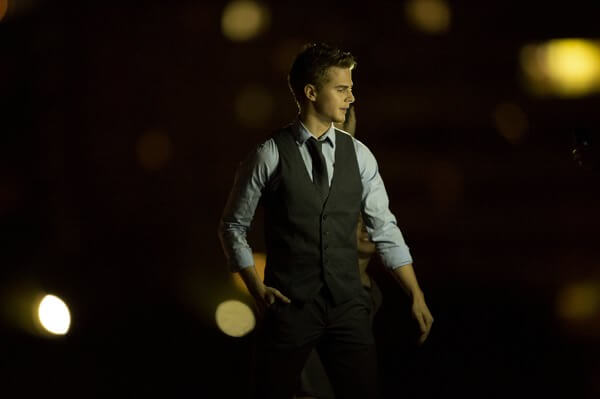
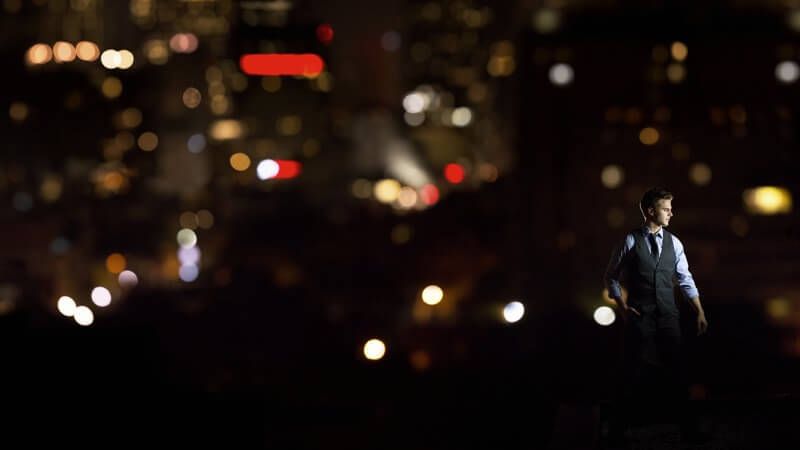
Finally it was getting quite late and everyone had to be up and going the next day, Andrew & I continued on to Dundas Square (the Times Square equivalent of downtown Toronto) to try and put a final image together. We were quite limited in where we could make this shot happen as only a small amount of Dundas Square was properly lit and I had limited amount of space to shoot! To make this shot happen I was crouched in the middle of a road!
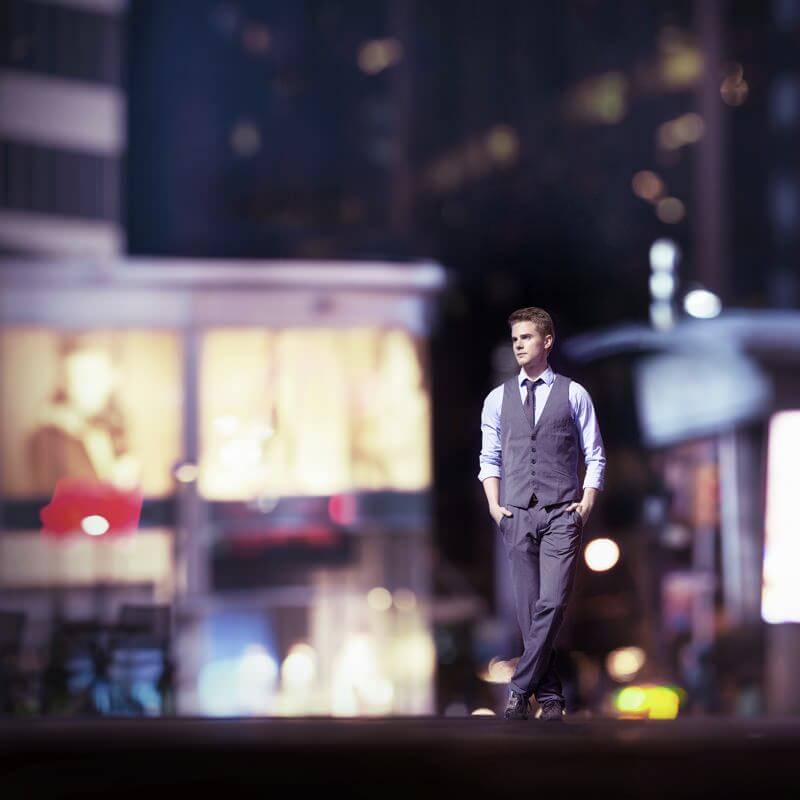
Final thoughts:
Does the Brenizer method work with a 400mm f2.8? Sure does but it’s a pain to set up and reframe a lens as big as the 400mm. It’s also restrictive since you need to be far away from your subjects! Additionally, the 400mm focal length will also introduce camera shake into your shots if you’re not careful especially when you’re shooting at night~
Was it fun to shoot with?
Oh ya.
