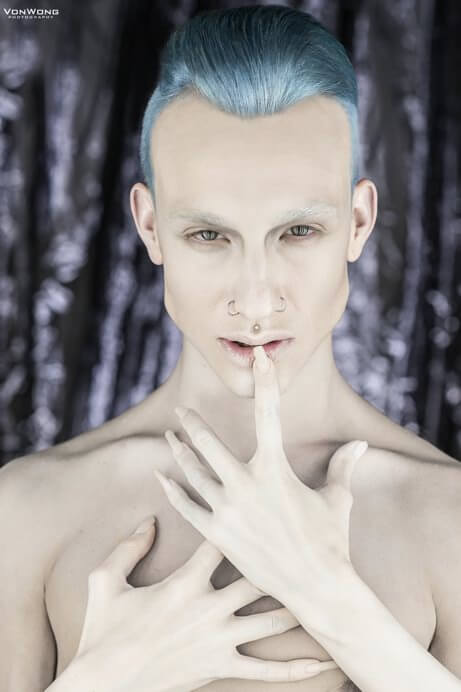
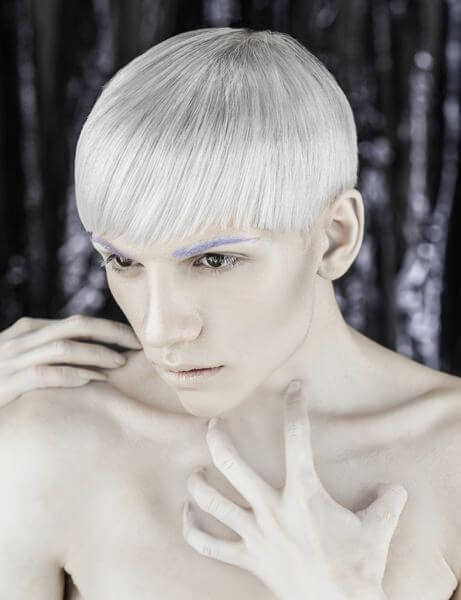
A couple months back I submitted a series of photographs to participate in the Contessa hair dressing award. As you can see in the video, we opted to do use a collection of fluorescent light tubes from my DIY VonStudio in order to produce some pretty exciting catch lights. I had originally glimpsed the idea for using fluorescents in fashion on DIYPhotography where a blog post about Joe Edelman described how fluorescent tubes could be used as a fantastic source of light and I figured that a hair competition, where the lighting would need to be uniform and even would be the perfect place to put it into good use!
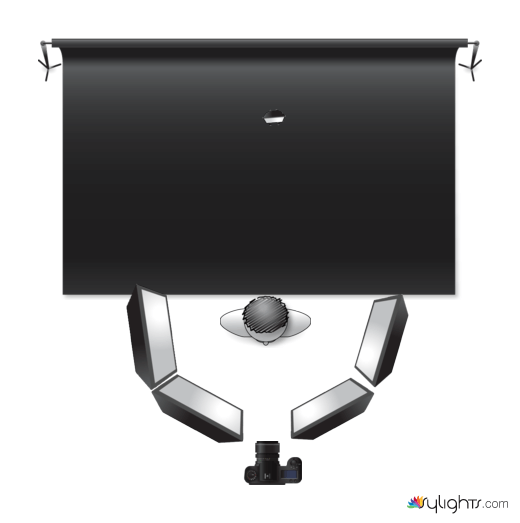
Although I go into quite some depth on how I setup the lights in the video, I created a lighting diagram over at Sylights to give you guys a visual idea of how the lights were ringed around the model.

For those of you who have never ever had the chance of shooting with continuous lights, I have to say that it was quite pleasant of an experience. For one, focusing is so much easier and for two, you can immediately see how the light is going to fall on to your subjects making it very easy to tweak the lighting until it’s just right. It does come with some slight disadvantages such as the models not being able to stare off into my camera lens for too long as the lights were extremely bright!
I was actually quite impressed with the quality of the lighting that we were able to achieve using nothing more than the fluorescent light tubes. Lighting was very even and by opening the safety panels and adding black gaffer tape between the tubes we were able to increase the number of lines that would appear in the models eyes.
If you’re one of those photographers that are simply starting out and cannot afford to buy any fancy flashes, I would definitely recommend you looking into purchasing simple fluorescent light panels to get a softbox-equivalent style lighting. I think the biggest downside with these housings is that they are really not made to be portable so transporting them around is a great way to actually break them quite fast! The metal structures are not made to really support any weight and are a pain in the butt to move around.

As I mentioned in the video, it took quite a little bit of tweaking to get the bokeh in the background just right.. and even then I’m not a 100% satisfied with it! We had a fan blowing into the cloth to create variations for we didn’t want all the images to have the exact same background but somehow that also meant that we would loose bokeh on occasions. We had a whole lot of fun experimenting with placing the flash in a variety of locations and finally settled with just lighting it from the bottom in hopes of creating a nice gradient effect. Have you guys ever tried to create bokeh? What were your experiences?
In the past, i had tried to create bokeh by simply tossing around pieces of a metallic wig and having it catch the light that came out with some great results but this time around I wanted something a little bit more controlled! I guess an experimentation that will require a bit more playing around with… 🙂
BTS Von Wong Photography – Yameki from Pakdi Decnud on Vimeo.
Finally , for the sake of keeping things traditionally weird and exciting on my blog, I wanted to throw down these larger versions of the crazy hand versions of the hair competition. We had to toy around quite a little bit since the models nails weren’t all the exact same length and only one of her hands had perfectly long slender nails (real!!). By this time though, our third model had to unfortunately go ! Here are the results 🙂 Retouching on these shots were finally slightly lighter than for those on the contessa mainly because they would be just for fun 🙂


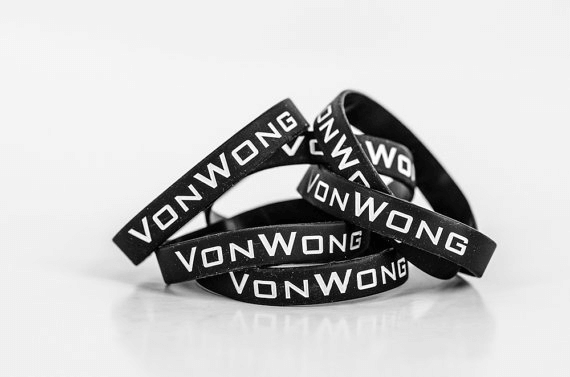
Finally to wrap up this weeks blog post, I would like you to congratulate Allen Ang for winning last week’s draw to win a Von Wong Bracelet! Head over to his page to congratulate him 😀
If you guys are interested in winning one, simply share this post and leave a comment on the bottom for your chance to win !!

Credits:
Photo: Von Wong
Hair: Jazz HairStylist
Make-up: Jennifer La Maquilleuse Dionne
Retouch: Jessika Chiasson
