Ever since I started doing large scale photoshoots, I’ve always looked for a solution to wirelessly tether to my computer. Tethered shooting is a pain because I tend to move around too much and trip over my cables bringing the entire shoot to an epic end. Wireless tethering was only a long-gone dream with the only couple options the affordable Eye-Fi Card which was slow, unreliable and had terrible desktop software… and the completely unaffordable WT-5 units from Nikon. Why tether you ask? Focus checking, framing, presenting shots to the clients on an actual screen, camera controls, live view, just to name a few… And all those are possible tethered directly to an iPad or a Computer using a nifty 300$ device named the CamRanger
. But as cool as all that is, what if you wanted the functionality of tethered shooting to Lightroom (apply presets, crop/frame, etc…) , without sacrificing the additional live view camera controls afforded by the CamRanger? Was there actually a solution? Disclaimer: This post was not sponsored by CamRanger. After pondering for a while, I found the solution:
5 Easy Steps to set up your computer for wireless tethering to lightroom.
Step 1:
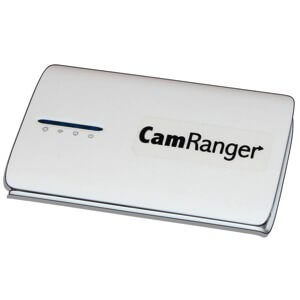 Buy a Camranger
 – (Amazon
| B&H | Vistek). Sorry but there’s really no way around it. (Only works for Nikon/Canon. Be sure to check compatibility here) Though the EyeFi is somewhat of a solution, it is so terribly unreliable and unstable that I would NEVER recommend it for professional (or even semi-professional use).
Step 2:
Load up the CamRanger preferences and select the “Saved Images Directory” that you want. Make sure that you select “Auto-Download Images” so that the images are automatically saved to your computer. 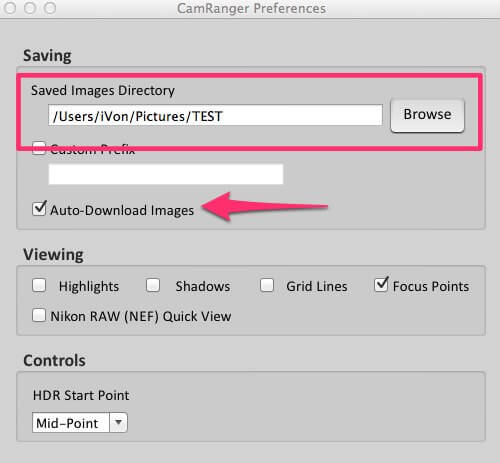
Step 3:
Set you camera to transfer RAW+JPG (I personally use Fine+Small on my D800E but depending on which camera you have, your settings might be different. You CAN choose to transfer RAW files but those 50mb files take time to transfer!! 
Step 4:
Set up “Auto-Import” in Lightroom. Head over to the Auto-Import Settings, and define your “Watched-Folder” by selecting the folder previously determined in Step 2. 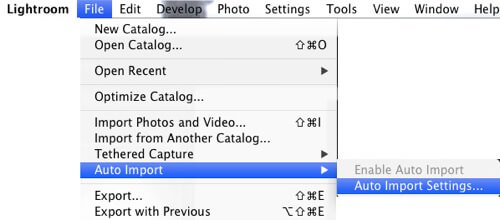
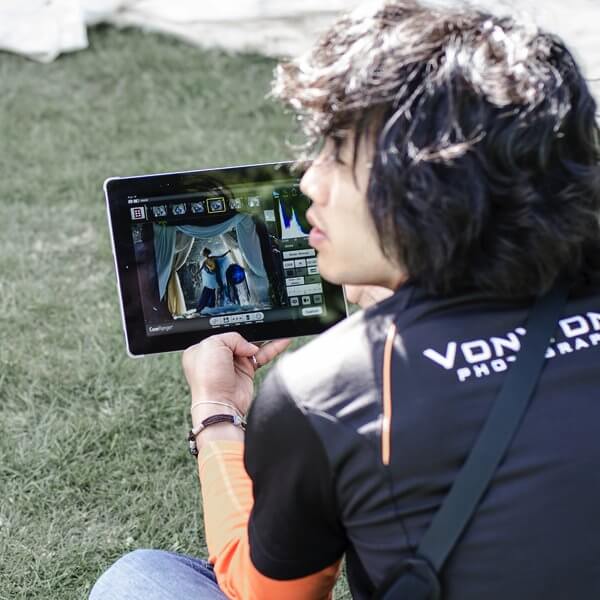
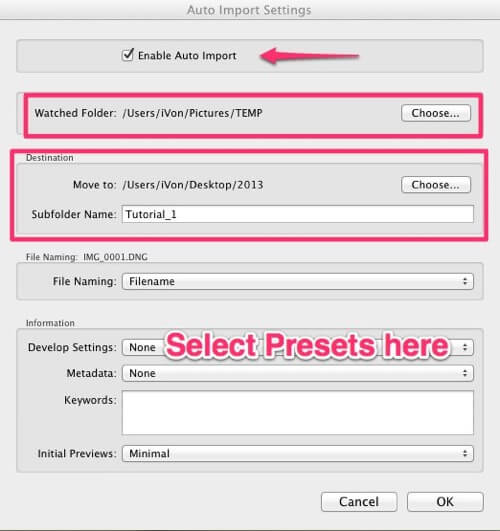 You’re done! Enjoy the power of wireless freedom. Hope you enjoyed this tutorial, here’s a preview of next week’s BTS video:
Note to bloggers: Please do not copy the contents of this article. Feel free to link to the video and direct people here. Thanks!
Announcements:
I’ll be speaking at Imaging USA, Indiana and Mystic Seminars, CN! If you want to hang out, send me a message!- Check out my new SmugMug site and my review – Promo Code: VONWONG20! Let me know what you think: www.vonwong.com
- Have some Von Wong bracelets to sell on ETSY if you’ve always wanted one!
